Changing Input policy to allow for SSH login

How to change the input policy to allow for SSH login

1 Log into sive.Host, On the dashboard, click on serviceshttps://sive.host/titfombe/repository/firewall8.png

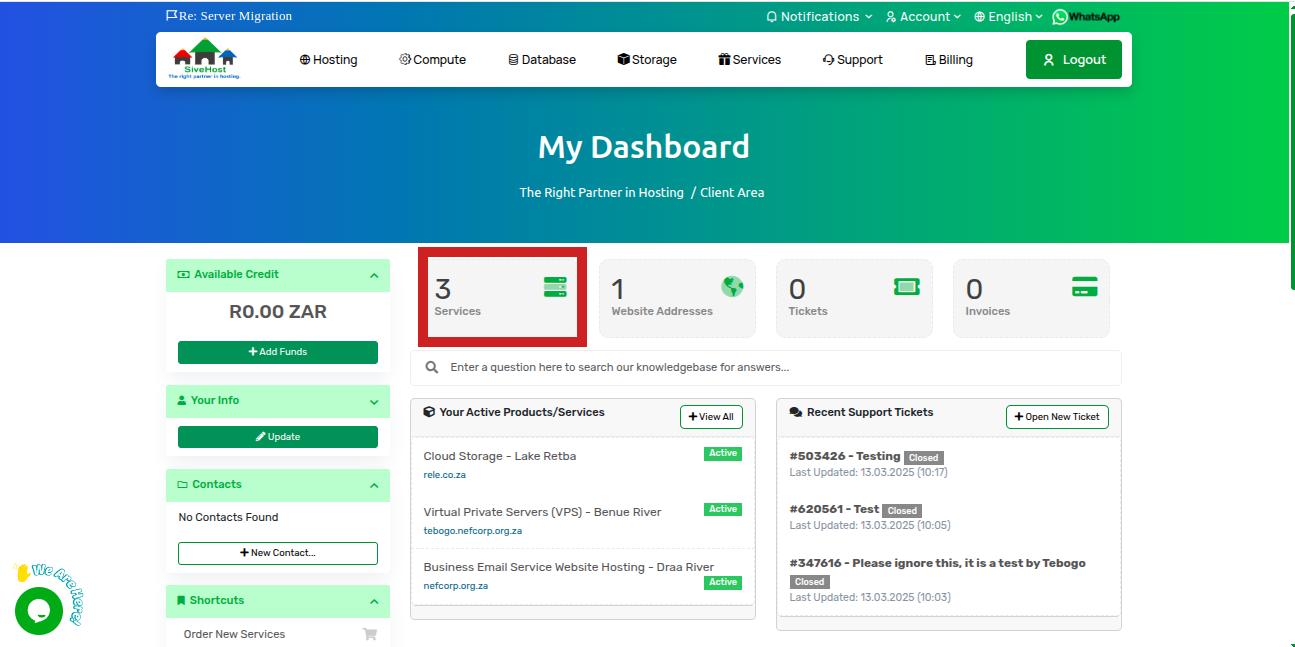
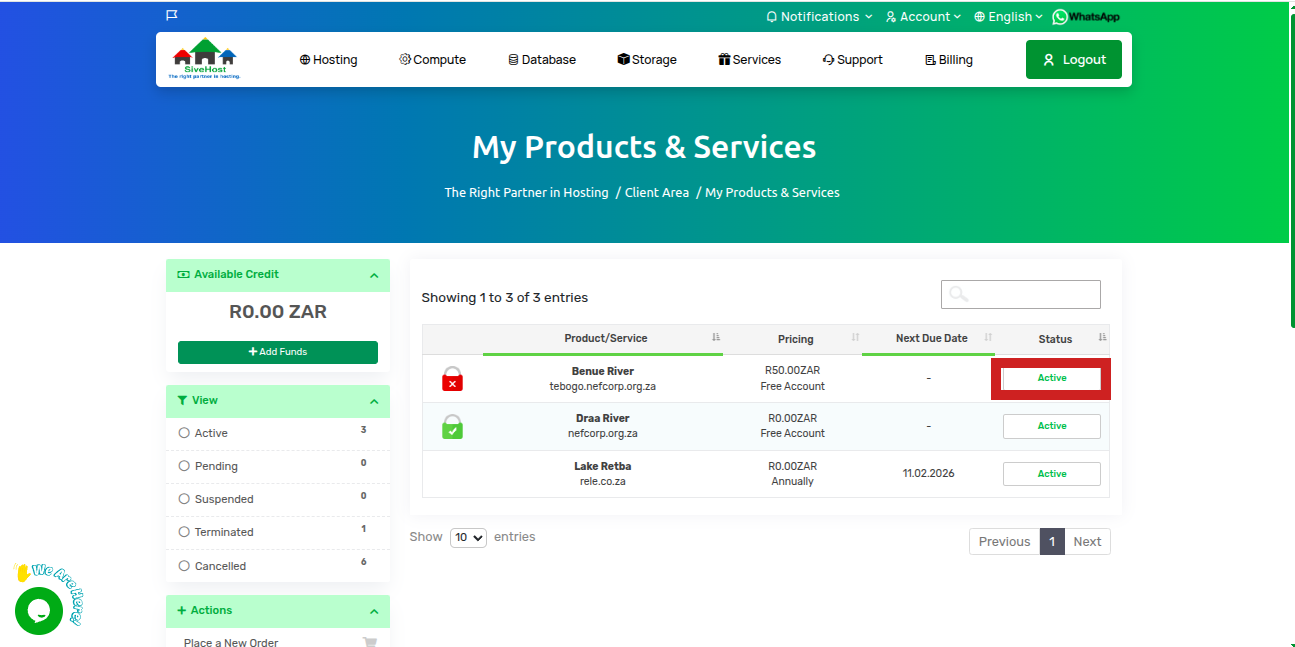
2 On the services page(My products & services), locate the VPS you want to access and click on Active 

https://sive.host/titfombe/repository/firewall7.png

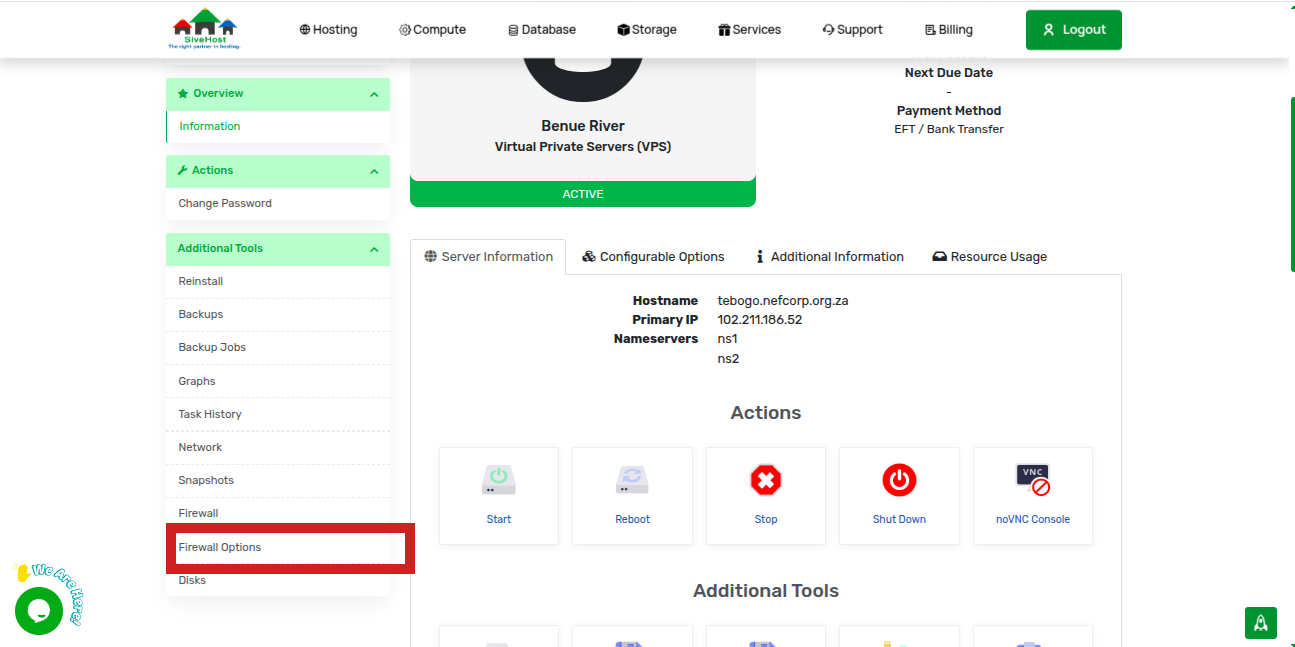
3 In the VPS page, on the left menu, scroll down a bit and click on firewall options under additional tools

https://sive.host/titfombe/repository/firewall6.png

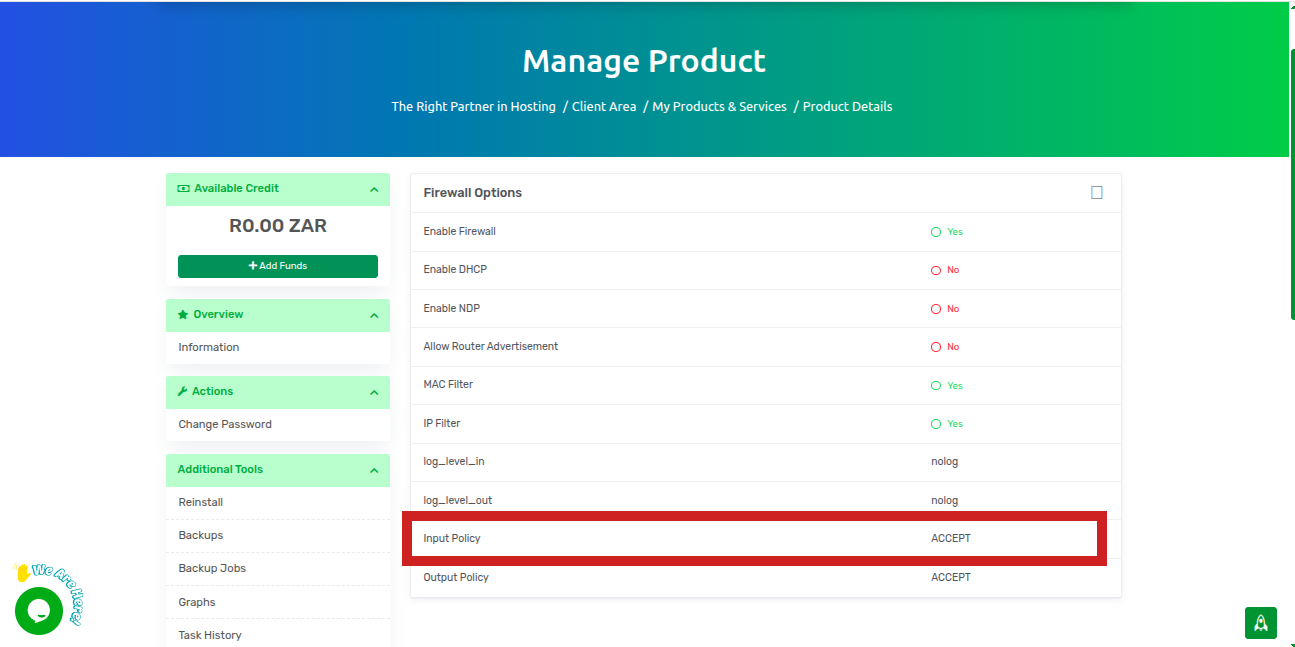
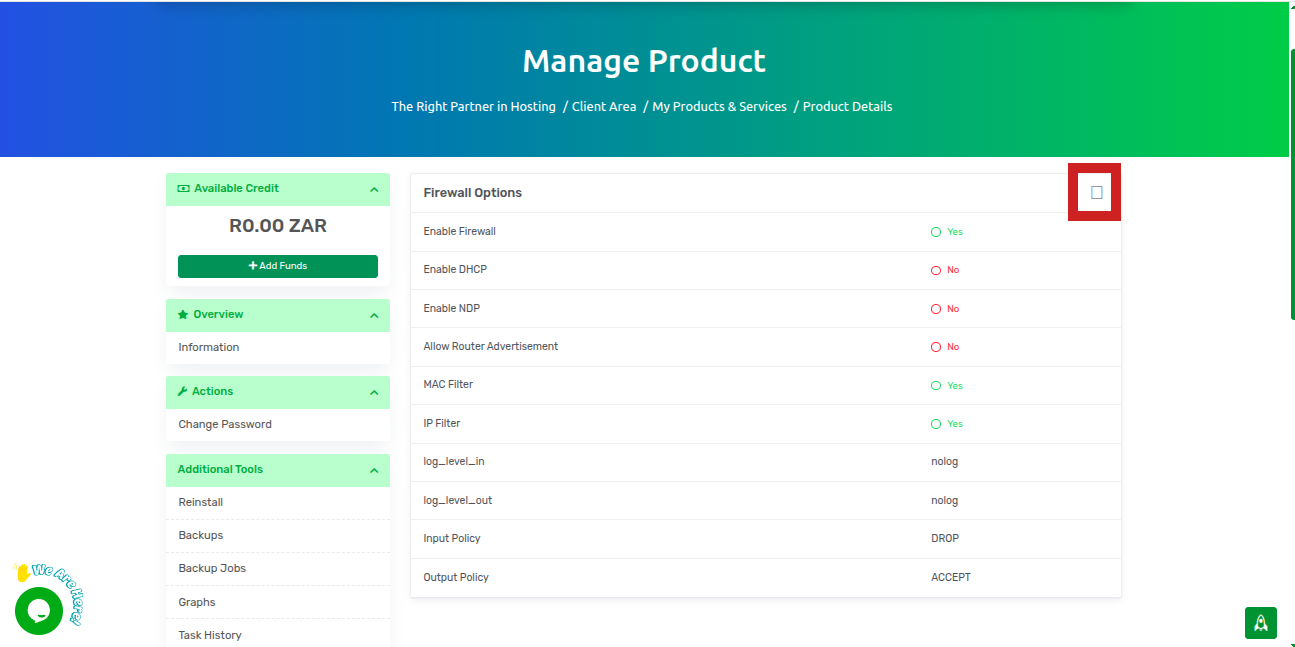
4. On the firewall options, click on the  square box on the top right of the firewall option menu to edit the firewall option

https://sive.host/titfombe/repository/firewall4.png

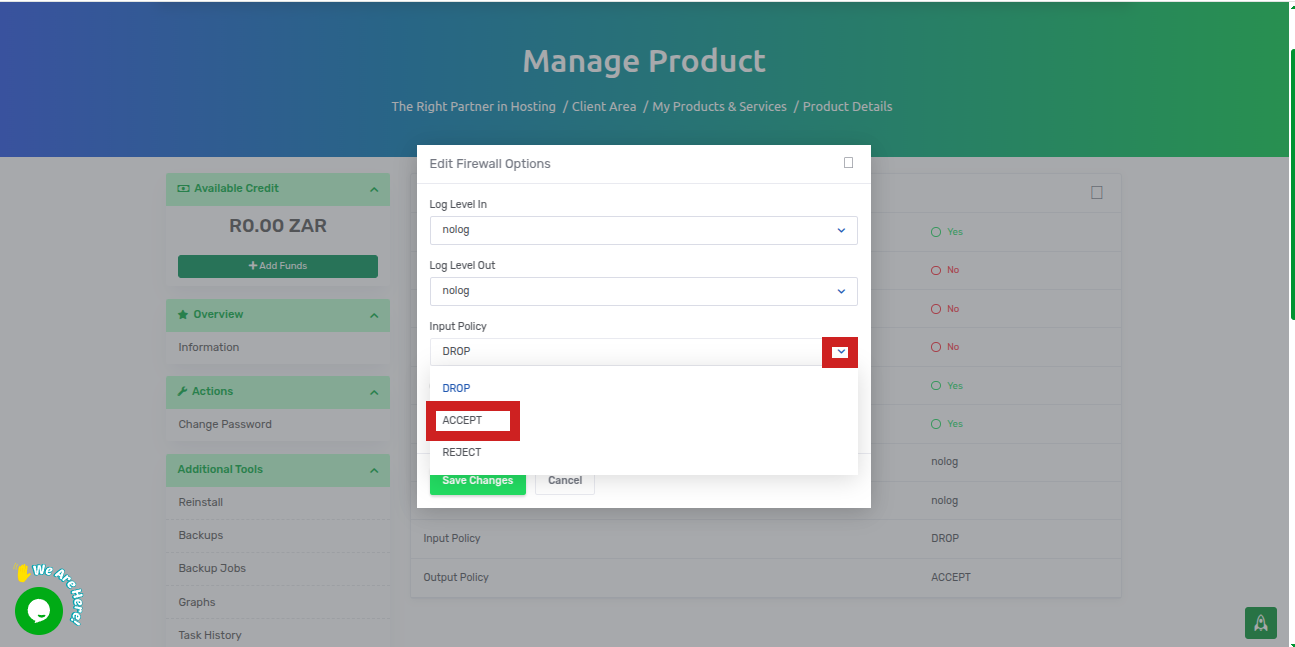
5. In the firewall edit window, click on the dropdown menu on input policy and select ACCEPT

https://sive.host/titfombe/repository/firewall3.png

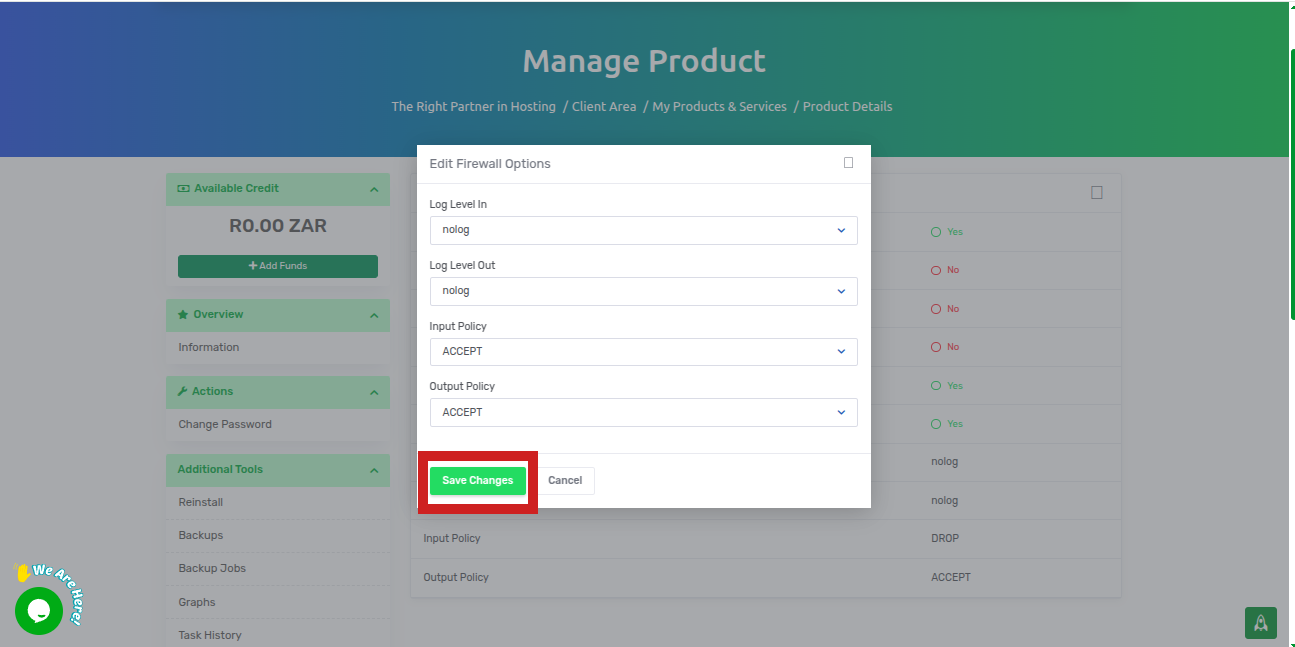
6. Click on save changes to apply the change.

https://sive.host/titfombe/repository/firewall5.png

7 To confirm that your changes have been saved, you will see a pop-up message saying the firewall options have been updated successfully in the top right corner, 

https://sive.host/titfombe/repository/firewall2.png

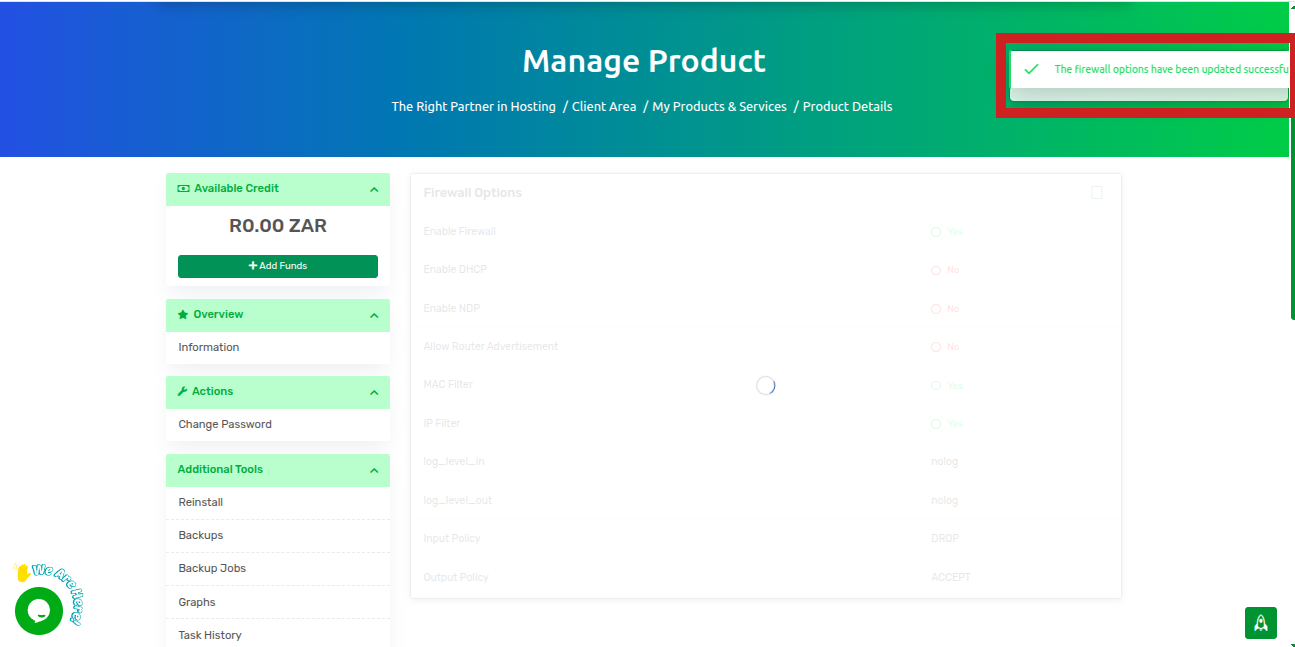
and the input policy will be changed from drop to accept

https://sive.host/titfombe/repository/firewall1.png

  • 0 Els usuaris han Trobat Això Útil
Ha estat útil la resposta?

Articles Relacionats

How to access your server via noVNC Console

Accessing your server via the noVNC console1. Log in to your client area and click on your...

How To Reboot Your Server

When Should You Reboot Your Server? You may need to reboot your server after making major...

How to View Your Server Task History

Why You Might Want to View Task History Viewing your server task history can help you:...

How to View Your VPS Disks on Client Area

Purpose of the VPS Disks Section The Disks section provides detailed insights into your VPS’s...

How to View Your VPS Network on Client Area

Purpose of the VPS Network Section The Network section offers vital details about your VPS’s...